0

Generator Maintenance: Start-up and running tests

Cleaning up power Generator

I have always wondered why the generator is not considered a machine to keep clean in its entirety, as it is done for all other work equipment or daily use devices.

How many times it has happened to you to intervene on a so dirty generator that it seems unbelievable that the latter is under a maintenance contract. Here I'm not just referring to the air filter or oil and diesel filters, which are periodically replaced.

Here we refer to the external cleaning of the diesel engine dripping with liquids, of the alternator and the control panel often covered by layers of dust, cobwebs and sometimes also of excrement or insects.

The visual impact of a perfectly clean generator is essential for the customer, but above all a clean machine will make it easier to identify any anomalies that would otherwise be hidden.

Unfortunately, cleaning a generator is not as convenient as cleaning the closet at home. It is advisable to be equipped with gloves, rags, a dispenser and a detergent for industrial machines, a  non-acid , non-aggressive and water thinnable type. Products that are not harmful to the environment is always preferable.

Now, with care not to spill liquids on those electrical or electronic components installed on the generator, you can spray the product on your engine and alternator. Allow to react for a few minutes then mop to remove the dirt.

Let us always remember that security is important therefore the cleaning activities must also be carried out with the generator temporarily in OFF position since you will have to put your hands close to rotating parts (e.g. pulley, fan, belts, etc.) so we must be absolutely certain that the motor will not start accidentally.

You will notice how useful it is to have the engine clean especially in the outline of gaskets and sleeves, so you can better see if there are leaks of liquids, even small or almost invisible; same thing for the base, for the tank and for the containment tank below the radiator.

A vacuum cleaner can be very helpful to remove dry leaves, cobwebs and other wastes which are deposited inside the machine and can be in contact with hot parts or even be sucked in by the radiator and partially obstructing its surface of the radiator.

It is simpler for the electrical panel because it’s sufficient to dust and eliminate the unpleasant cobwebs.

With an air compressor you can also blow away dirt or dust accumulated in the power connections box or, through the shield grid, blow dirt away from the windings; also in this case the simultaneous use of the vacuum cleaner will help you by aspirating the dust that will spread in the air.

Now the maintenance is almost complete, and after making sure that you have not left any equipment, gloves or rags near the machine, you can proceed with the last fundamental step.

Start-up and running tests

Nowadays there is a variety of control panels and control boards on the market. Without getting into  specifics, we can summarize them in two basic commands: manual or automatic.

Any generator will have a key or a start / stop button, on which you can operate after selecting the MAN mode on the board.

The control boards dating back to at least the last decade, have the TEST command, through which the board autonomously performs the start up of the power generator and keeps it running until the new command is pressed again. This feature will give you the convenience of positioning yourself close to the machine, monitoring start-up times and measuring the fall in battery voltage with the instrument when the motor is switched on and the diesel engine starts.

The generator set will start at the first attempt and will remain in motion, running without load  without problems but you already know it because  you started it before initiating the maintenance (ref. Par.1).

Now you can concentrate on the verification of the main sources of engine safety, simulating the intervention of the oil pressure bulb, high temperature refrigerant liquid and emergency button.

The test is to be considered positive only if the generator receives the stop signal, it switches off immediately and the respective auditory and luminous alarm appears on the control board.

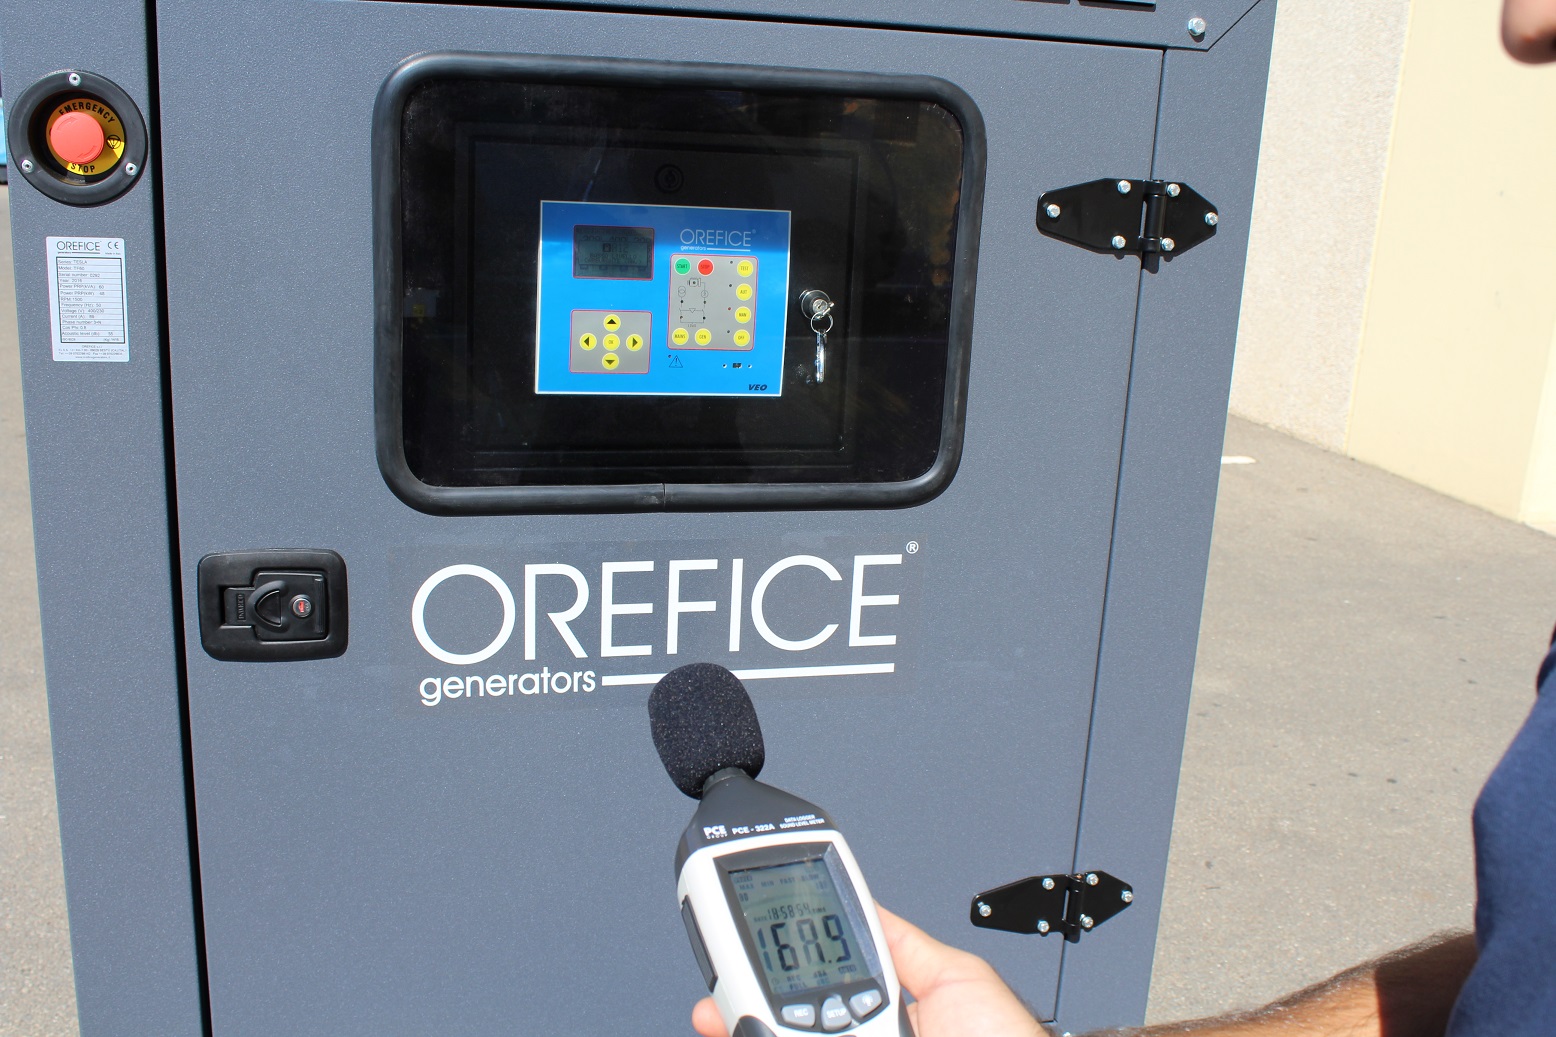
With the generating set running, read and note the measurements of the generator voltages delivered on the three phases and the rotation frequency.

This will be useful to compare them with the data of the previous maintenance and to check if there is any deviations in order to intervene with possible adjustments.

Also make a note of the hours of operation, which are essential to supervise the generator’s wear conditions and the deadlines for future maintenance activities.

Now the generator can be stopped. If you do it with the TEST command, the engine cooling procedure will automatically be carried out for the pre-set time, and the machine will position itself in AUTO mode in stand-by condition.

If instead you started it in MANUAL mode, you will need to make sure that the "AUTO" operating mode is restored at the end of the test.

Do not be surprised if I highlighted this last sentence in bold, but it is a forgetfulness not so rare. In my experience of after sale, calls from Customers  in which the generating set did not start because it was forgotten in the OFF position or starting from the Manual command position.

One last  glance at the machine, at the control unit and then close the doors and return the keys to the customer.

Generators Maintenance: Auxiliary network and Control Panel

Auxiliary network

The power generators, depending on its complexity, can have several auxiliary devices necessary for its operation and which are chosen according to the type of engine, alternator, canopy/container, to where it will be installed or to the conditions of use. We will be able to see many examples together in another article. Anyhow, most generators have at least one of these devices:

-engine water preheater,

-oil preheater,

-anti-condensation heater.

It is important to verify that they are functioning and that they are doing their duty keeping the engine warm (for the first two) or that are preventing moisture on the windings (for the last)

For some it is sufficient to check the temperature with a heat gun directly on the motors head or near the oil pan  to establish that the preheater  works but many modern engines have a real control over the minimum temperature from the head in order to enable the start-up, therefore it is good to measure the actual temperature reached by the preheating in several points of the water circuit. In this way you can modify it by adjusting the thermostat if it is too low or too high (a constant high preheating temperature causes unnecessary wear on the gaskets, hoses … )

A more specific electrical check can be performed after the preheating has been suitably disconnected electrically.

A more specific electrical check can be performed after the preheating has been suitably disconnected and after disconnecting the power supply wires with an ordinary multimeter. You can check for signs of dispersion to the ground and understand if the resistance is deteriorating or still in good condition.

fn orefice 2014-063.jpg

Control panel

Depending on the year of construction, it can be composed and equipped with old or new generation tools: it can be electromechanical, with many relays or electronic with cards of various kinds.

In each and every case everything happens through electrical contacts, wires, signal exchanges, therefore you will find clamps, connectors, wiring and other electrical equipment to be tested with patience.

The movement itself of relays and contactors, causes with time a loosening of the connections, which can be re-tightened. You should  make sure that the clamp is tight, but at the same time gently, you should take care to not  overdo it with the risk of damaging the component.

It is advisable to remove the ducts’ covers  that house all the bundles of cables so as to see that there were no short-circuits between damaged wires or cablings. This is a sore point, especially in old installations since ducts, wires, copper bars and tunnels are the favourite territory of small rodents that,  in addition to finding a very comfortable and sheltered habitat, are very greedy and love  the wires and their isolation.

Once I was involved in the maintenance of electrical panels that were seriously damaged by small rodents, which unfortunately are only discovered after they have created the damage, or worse, leaving a whole activity in the dark because when moving between the copper bars of a switching, they caused a short circuit between the phases; or simply because the signal cables between the control units have been gnawed.

Thus, provide a pair of suitable gloves and check well  between the cables bundles and if you happen to find traces of rodents, you will have to repair or replace the damaged wire promptly, and notify your client so that he can organize the local disinfection.

With compressed air canisters like the ones used for computer keyboards, it is advisable to blow away all the dust, dirt, cobwebs and all that could deposit on the components inside the panel. Avoid using a compressor that could spray water t in the form of condensation on the electrical contacts.

The rest of the inspections at the control panel are directly related to the functional tests.

Please do not forgot to work by safe way, and remember that the Atuomatic Transfer switch can have parts under power even when the generator are not able to run.


Generators Maintenance: Daily fuel tank

In the most common cases, the generator tank, also called a service tank or daily tank, can be placed under the engine-alternator coupling, incorporated in the basement of the enclosure or in the installation room, on the floor or on the wall. In any case it has at least one of these elements that has to be maintained:

·        Visual analogical level gauges

·        On-off floater or with more level

·        Solenoid valve or toggle valve

·        Fuel pumping system which can be manual, electrical or both

tank_fuel_generator.jpg

It is good to check, especially for older installations,  that there are no damps from joints or welds. If there’s the visual level gauge then check that there are no leaks from the seals or cracks in the glass.

If a manual pump is present, it is sufficient to test its operation and to check that there are no fuel leaks during the crank movement.

In the presence instead of an electric pump it is possible to force the start, if allowed, or to simulate the automatic start removing the float from the tank in order to check its integrity and to make sure that the level alarms and the automatic start of the pump respond.

Even in this case there must be no fuel leaks from the pipes during operation, otherwise you must  restore immediately.

“After how long  should the fuel pipes be replaced?”

The production date may be printed on the pipe, but not the expiration date as this depends on how the tube is used  (temperatures, atmospheric agents…)

However, there is an indication of duration, which is about 10 years, but linked to the conditions indicated above.

The whole system can also be easily tested by simulating a tank emptying if however it is supplied with an emptying system with tap and collecting tank.

The operations described above are carried out with the generator switched off and the control unit in OFF position.( Possibly also disconnecting the battery)

Leakage collection tank of the Generator

The collection tank, if present, must be kept clean in order to highlight any liquid leaks.

If a drainage point is present, check for leaks and if it’s not has  been tampered with.


The Generators Maintenance: Starter Batteries

Starter Batteries

Why a paragraph dedicated only to starter batteries? Simple: because if they are carefully maintained and safe, the gen set won’t start!

At best, the diesel engine could be equipped with a compressed air starting which is a special optional that we shall deal with in another section.

The starter batteries on the market are now of varying type and they are differentiated by brands, models and characteristics.

To simplify the discussion, I’ll focus on two basic categories : the sealed type and the unsealed one, more commonly defined in the operators’ jargon “with caps” and “without caps”.

The so-called sealed batteries don’t give the possibility of controlling the level of electrolyte liquid in the individual elements except for some of the most recent generations that have a small spy on the top cover which will present a colour change in relation to the internal liquid decay.

So you can use all the external visual and electrical controls as to whether the battery is about to die or it is still holding the charge well.

Firstly and after having properly disconnected the static battery charger in the panel, you have to disconnect the two terminals at the battery poles and , with your tester you should measure the no load charge voltage . In this rest condition the voltage must not fall below the minimum value indicated by the manufacturer  and, in any case not under 12V.

You can also use a specific tool that executes the  download and upload process  and that prints you a small report with the performance data.

battery_generator.jpg

Now you can clean the two poles of the battery well and reconnect the terminals starting with the positive then the negative without exaggerating too much when screwing the clamping bolt. Fixing must be done in a way the pole is well tight so that it cannot move however be careful to not  damage the clamp or the pole. These latter are very soft.

You can also use a spray  (easily available on the market) which creates a protective film on the pole. After having replenished the charger, now you can measure the voltage at the poles and the absorption to the wires of the same power supply with a current clamp to make sure that it remains within the required limits and when the correct voltage is reached, it works correctly, gradually reducing the charging current.

But now let’s get back to our above mentioned batteries. The ones “with caps”. You will find one at each item and you should open them not before having worn gloves, goggles and protective masks. The electrolyte liquid can be brought back to the level by adding distilled water, sold specifically for top-up of the starter batteries. You can also use a convenient semi-automatic top-up like the one in the figure below, which autonomously stops when the liquid is level. However, if you don’t have one, and you  are refilling  with a small funnel, then the two side lines on the battery body indicating the liquid levels MIN and MAX will help you. A key thing that you MUST know is that you MUSTN’T top up a battery with new acid, but EXCLUSIVELY with distilled water otherwise the risk that the new acid rapidly impacts with the charged electrodes generating an explosion is high.

I also recommend  your not filling the battery if the opening of the caps is clear that the elements are completely dry. this is an indication of poor maintenance, a charge too high by the charger or a battery problem.

The elements that are dry and kept in charge can be overheated and have created "gases" which, in contact with the distilled water that you are going to add, can trigger dangerous reactions.

Generator Maintenance: Alternator that unknown thing.

The alternator .. that unknown thing


Warning: The following information is reserved exclusively for qualified technical personnel who have undergone specific training on all risks related to the generator set and the risk of electrocution. Read the manuals provided by the manufacturer carefully.


Alternator, so much important though so much overlooked

One is led to think that the engine the most important working part, and that instead the alternator is nothing but two windings put in rotation, which generate electricity. But, thanks to that electrical part that the generator is defined as such because it is the alternator which is responsible for channelling  the energy the engine needs.

Mechanical controls

It often happens that our staff bother removing the fan’s protection grid or the rear shield for routine checks and customers say to me they’ve never someone removing those parts before.

From there it’s  possible to get access to the coupling/discs/rubber supports and everything that hold the coupling between the engine and the alternator. Only this way it is possible to verify the integrity of the clamping disks.

The ventilation of the alternator is through forced air which is sucked in at the rear, and after having passed through the windings it’s pushed out from the fan. Therefore, you can clean internally and free the airways by avoiding overheating only by removing it.

From the rear shield you can measure the air gap (distance between the rotor and the stator) using a special feeler gauge and comparing the values with the manufacturer's data. a decrease or increase of the air gap can easily signal an anomalous movement of the bearing.

The bearing greasing must be carried out according to the annual frequency or to  the hours worked indicated on the alternator’s plate. if you pay attention, the plate also shows the type of grease to be used.

Electrical controls

alternatore.jpg

They could fall within the mechanical controls but, having to do with the power cables, it is possible to remind it now: I’m referring to the testing of the power cables placed inside the upper casing. a dedicated section of the user manual indicates the cables tightening to the power terminals.

It’s also the opportunity to check if there are signs of rust or oxidation to the terminals or if there are cracks in the insulators.

Having finished with the power cables you can check all the wires of the auxiliaries that go to the terminal board trying to be delicate with these latter especially if you are working on an old alternator. They are easy to break because of the deteriorated plastic.

Before closing everything, you will have also taken a look at the windings, using a bright lamp, so you can make sure that there are no loosening or dirt. I'll cover the "cleaning"  topic later in this article.

Measurement

To avoid damage to the customer's utility, it is absolutely necessary to measure the voltage and frequency with an instrument, periodically calibrated and certified. (Calibrated and certified in accordance with a quality system)

You must verify that the no-load voltage is in the threshold values as stated on the generator's plate ( 400, 380, 230V etc) that does not deviate from the established limits. it then compares the values with those of the previous maintenance, to check if there have been variations that could anticipate a problem of the alternator's return or a voltage regulator problem.

Now you can close the alternator power box, tighten the cover bolts well and make sure that there are still stickers with a symbol for electrical danger otherwise it will be your concern to get new ones.

Our Generators are equipped with Mecc Alte ; Stamford ; Marelli ; Leroy Somer


Backup Generators for Homes: Discover the Best Generators for Home.

Backup Generators for Homes: Discover the Best Generators for Home

The Backup generators for homes are every day more needs cause our homes are invaded by electrical devices of various kinds, some of which are essential, such as refrigerators and freezers, others less but important as televisions, washing machines and air conditioners.

Although in every home there are a few thousand Euros of home appliances and electronic devices, many houses do not  take into consideration the purchase of an emergency generator.

If you are reading this article, you are certainly not among those evenif  generators for residential use, is not economically viable investement, I decided to give you some useful information on the ideal generator for a home.

First let's see why you  absolutely shouldn't make the mistake of buying an auto-start generator with GAS and Gasoline engine .

If you google "residential generator", you will find the generating sets you absolutely do not have to choose: generators with a gasoline engine, usually single-cylinder, similar to those installed on the gardening equipment.

They are the cheapest ones and tehy promise you perfect performances for your home. Unaware of the risk, you will buy and then you'll stay in the dark.

They have a problem: They do not start.  

If you are not a scrupulous of preventive maintenance, that generator will NOT start automatically.

Now i will explain why:

Have you ever started up a motorbike that was stationary in the garage for a while? Does it start from the first shot?

No.

The same thing happens with a gasoline engine generator turned off waiting to start automatically when power is out.

Failure to do so can be attributed to the engine's starting characteristics and the fuel that easily deteriorates over time.

The advice is to guide consumers in their choice to generators with a diesel engine.

Ok, seems clear, but why even the backup generators equipped with gas engines are not suitable to the home backup?

Think about a emergency situation like a Hurricane. What happen during a hurricane at the gas supply? Sometimes for safety reason the gas line must be closed.

When the gas line is closed your generator can't work.

building-1080592_1920.jpg


Inverter, Voltage Regulator, Speed ontroller

In a previous article we have talked about generating sets with inverter technology and engine speed regulation, in other words of stabilized generating sets .

One of the specific features that distinguishes a home from other types of electrical utilities is the presence of numerous sensitive loads, just think of television, consoles, kitchen robots, etc etc, all are very sensitive to power surges.

Using an electric generator such as those that are at 149,00 euros at Brico's "Do It yourself" to power electrical and electronic devices that are worth maybe 30 times, is just like trusting the safety of an expensive Harley Davidson to a thin muddy nylon rope.

Inverter generators are a great solution in terms of current quality, engine speed varies, good fuel consumption, noise tolerable, but are equipped with gasoline engines, so I exclude them for the reasons shown at the beginning. relatively expensive when choosing something reliable.

I generators with diesel engine at 3000 rpm , (if you do not know the difference have a look at the article we're talking about, click on the link) are ideal if you have little space available but these engines can not be electronically adjustable, except for special exceptions, so they are not ideal for powering directly sensitive loads.

The generator with diesel engine at 1500 turns , would be the perfect solution, that's why:

1. It can remain in operation for days without any problems.

2. It is more silent than the engine power generator with 3000 rpm  .

3. It can be equipped with an electronic speed controller.

4.      Ha cilindrate superiori e pertanto risponde meglio alle prese di carico. (questo non lo dice mai nessuno

5. It usually spends more but worth it much more.

6. The professionals sell it, so you are sure to have a superior after sale service .

The power

All the materials I've found online that talk about the generator to supply a home, focus a lot on the "power" part. But I think it's important but not too much.

What you need to know about power is that you can never compare the household electric utility supplied by the operator with the power supplied by the generator.

Trivial example: Take a bill where it is written that the electric power is powered by 4 kW, You will deduce that you need a 4 kW generator.

False . The power grid does not behave as a generator. The network does not notice the load variations of a house.


Now let's upset the engineers

If you are not a technician but want to have an idea of hat electrical power is needed for your home without too many calculations and formulas, take paper and pen and record all the electrical appliances you have at home, writing for each of them the electrical power indicated on the identification plate. (we only talk about single-phase systems).

Sum all values nd you will get a result that can be approximately 70% of the active power of the generator you need. Example: You have calculated 7000 W of electrical loads in your home, then you can consider a power generator of not less than 12 kVA.

(if you want to know the difference between kW and kVA go to from kw to kva the power of a generator is as easy as drinking a beer )

It is absolutely indicative, just to give you an idea of hat electric power to engage with a generator, however, it is desirable to make a more precise sizing in the selection and choice phase.

How much noise do generating sets make.

2IMG_1008.jpg

The nightmare of installing a home generator is the noise it produces when it is running. Some give up the generator for fear of not sleeping at night due to noise, or not to quarrel with neighbors disturbed by the generator.

There is a solution to this problem: the soundproof generator set.

Warning: we are not talking about those generators that have the "super-silenced" adhesive, improperly used by all those who put a motor inside a pair of plates, but really sound-generating units, with quieter engines and soundproofing cabins at high performance.

To not hear a generator in operation, this must have a noise less than 50 db measured at 7 meters away.

Value of things

Choosing a generator for your home is a pretty delicate decision as it is about giving value to the things you own. Just so: the greater the value of your home and the things in it, and the more attention will be paid to choosing a high quality, reliable and robust product.

The Generator Maintenance : Engine

The Generator Maintenance

2. The engine

As I said, I won’t talk about the service but I’ll just give a tooltip: “Always use lubricants of good quality with the features approved by the manufacturer.”

Most of the time, you’re dealing with  a diesel engine which in several years has probably accumulated few operating hours. Therefore, if you call upon qualified products you won’t have problems in maintaining the diesel in good conditions and (but I’ll tell it winking) maybe it will not even be necessary to replace it every year since it’s also provided in the engines ‘guides.

Credit Navistar Inc.

Credit Navistar Inc.

A real professional  shall carry the manuals and use them ..

Some are convinced that using the manual is synonymous with poor professionalism because if you use the manual it means  you’re not qualified and a manual guide should be sought.

Actually, following the instructions of a manual is synonymous with professionalism and it is a guarantee for the customer. The Manuals contain fundamental data on procedures and values useful for clamping.

Mindful that oil and fuel filters replacement are well defined by the manufacturer  on a regular basis and it is not necessary for all, substitution could be annual if you use name brand consumable.

Doing so will give you more time to focus on those parts that, in the long boring life of the generating set’s stand by engine, have no way to remain in operation and risk to become slow and lazy such us  the mechanical linkage of the injection pump, the tappets, the belt tightener, the alternator and the starter motor …

Check the clamps tightening and monitor the connectors status  along the electrical wiring on-board the engine (more and more present within the new generation of engines)

Below is an example table of the maintenance plan of an engine applied to a generator.

engine_maintenance.png

KVA TO KW. THE GENERATOR POWER EASY AS DRINKING A BEER

Everyone who’s dealing with a generating set has for sure heard about kW and kVA and found it easier to take the kW as a unit of measurement.

Knowing the difference between watts (kW) and Va (kVA) is useful for more detailed determination of the scope of the generator set.Knowing the difference between Watt (kW) and Va (kWA) is useful to determine in greater detail the specific application of the generating set.

Orefice Generators - All rights reserved

Orefice Generators - All rights reserved

Last year during class I used a classical example but obvious to the audience to explain to my student the difference between kVA and kW: Comparing the electric power of a generator to a glass of beer.

Pouring some beer in a glass, two separate parts are formed: the beer itself and the foamy head. We can consider the glass as the maximum power, the foam as the reactive power and the beer as the real power.

“Apparently” the glass is full but what will quench our thirst is only the part of the beer not the foam. However, to drink the beer you should also drink the foam which, even though it tastes a bit bland, helps to fill out the glass first than the belly.

Just like the foam in the beer, the reactive power is to be considered even when it has no need and it is connected to the power factor which is 0,8 for the alternator of a generator.

The power factor is the ratio between the real power vector module flowing to the electrical load and the apparent power in the circuit.

Therefore, to determine the real power of a generator we just need to multiply the kVA value by 0,8 and vice versa divide by 0,8 to switch from kW to kVA:

kW = kVA * 0,8

kVA = kW / 0,8

Example: To which nominal kW does a 20kVA generator correspond? You should multiply 20 x 0,8 to obtain the real power in kW which is 16kW.

The term “apparent” also gives the idea of something that looks like but it isn’t that.

If the reactive power is almost considered as waste why then the apparent power is taking into consideration when talking about diesel generators?

This is a common question that I have always heard because, in fact, it seems not to make sense taking into consideration the apparent power when looking for the real one.

The answer is simple: The apparent power, being connected to the current value present in the circuit, is useful. It can be considered as the maximum value of real power that we can obtain by reversing the discrepancy between voltage and current.

static1.squarespace.jpg

Remember the beer example? Well, imagine you are reducing the foam quantity in the glass and refill it with other beer!

The real and apparent power values get close until they become equal when the power factor tends to be 1. This happens when the generators powers a resistive load.

For the single phase generating sets with 230V voltage, there is no discrepancy therefore, considering a power factor 1, the real power will be the only useful power to be considered.

Do you want to receive a free simple tool that will allow you to have kW, kVA and Current, always at your fingertips?

Enter your email address in the field below, and receive the table with the power and current values or your mailbox for free.